


Presentations are a great way of sharing information. And Microsoft PowerPoint is a useful programme to help.
Presentations often include a combination of content formats. Like text, images, graphics, tables and sometimes audio and video. It’s important that all this information is accessible to a disabled audience.
The steps mentioned in this article specifically refer to PowerPoint 2016. The screenshots are from PowerPoint for Mac.
Use built-in slide themes and templates
Like most Microsoft products, PowerPoint has several in-built features to improve accessibility. Including ready-made presentation templates built with accessible features.
Most importantly, built-in templates also have the reading order configured correctly. This means screen readers can read the content of slides in the correct order.
Setting a reading order is vital for people using assistive technology. For example, screen readers or braille display. (You don’t want your user to start reading the bullet points, go to the image and then read the title last.)
Using a pre-made template is not always possible. Especially if your organisation wants you to use a branded template. But you can still change the reading order if you are designing your own presentation slides.
How to check the reading order
To check or change the reading order of your slide:
- Switch to the Home tab, click Arrange and choose Selection Pane.
- The selection Pane lists all the objects in the slide. Objects will be read aloud, beginning with the last list item and ending with the top list item.
- You can correct any items that are in the wrong place by dragging items into the correct order.
Microsoft also has a list of Accessible PowerPoint Templates. These are optimised for people with visual impairments.
How to use the Reading Order pane (Microsoft Support)
Keep slides simple
Overcrowding slides with text and graphics can be distracting. It can make it harder for people to focus on, digest or understand what they’re seeing and hearing.
Avoid any important text in the bottom part of a slide. In some cases captioning will overlay it.
Say everything on your slides
You should verbally summarise everything meaningful on screen. This is for anyone who cannot see or take in that visual information. Do not include extra text on your slides that you don’t talk about.
Use helpful slide titles
Titles are useful for establishing the contents of the slide. People may also need to scan through the presentation quickly to find a specific slide. This is where accurate slide titles are helpful.
Titles are essential for screen reader users to navigate the slides and find the information they need. And using relevant, unique titles benefits everyone.
If you can’t fit all the information you want on one slide, don’t make the mistake of skipping a title altogether. And try to avoid using the same title for slides with information that carries over.
Instead, try using “[Slide Title] part 1” and “[Slide Title] part 2” to help your users orientate themselves.
Check colour contrast
Even if you’re using a template to design your presentation, you need to check the colours you are using.
Choose colour combinations for your background and text that have good contrast. The contrast between the background and text must be 4.5 to 1 for small or medium-sized text to be accessible.
Tools like the WebAIM Colour Contrast Checker are useful for checking contrast. They help you test your colour combinations against accessibility standards.
Note, PowerPoint’s slide templates are great for setting an accessible reading order. But not all templates have enough colour contrast to be accessible. It’s always worth double-checking the colours you are using.
Think about font sizing
If you are delivering your presentation to a large crowd, think of the people in the back row.
The minimum font size for a PowerPoint presentation should be 24 points. This improves readability for all users, but especially those with low vision.
It’s also important you use a font that is easy to read. Many people find sans serif fonts, like Arial, easier to read than serif fonts, like Times New Roman. But this is not a strict rule. Use a font that’s right for your audience and make sure it’s large enough.
Font accessibility and readability: the basics
Add alt-text to images
Alt-text gives a written description of an image. It allows screen reader users to understand what’s in the image. This also includes charts, graphs and infographics. You don’t need to add alt-text descriptions for decorative items, like shapes and icons. But you do need to mark them as decorative by ticking the ‘mark as decorative’ box.
Another helpful PowerPoint function is the automatic alt-text generator.
It uses artificial intelligence (AI) to automatically generate a description for each image. While these descriptions are a helpful starting point, they are not always accurate. Sometimes they are wrong. Other times, you may find they do not include enough detail to convey the same information.
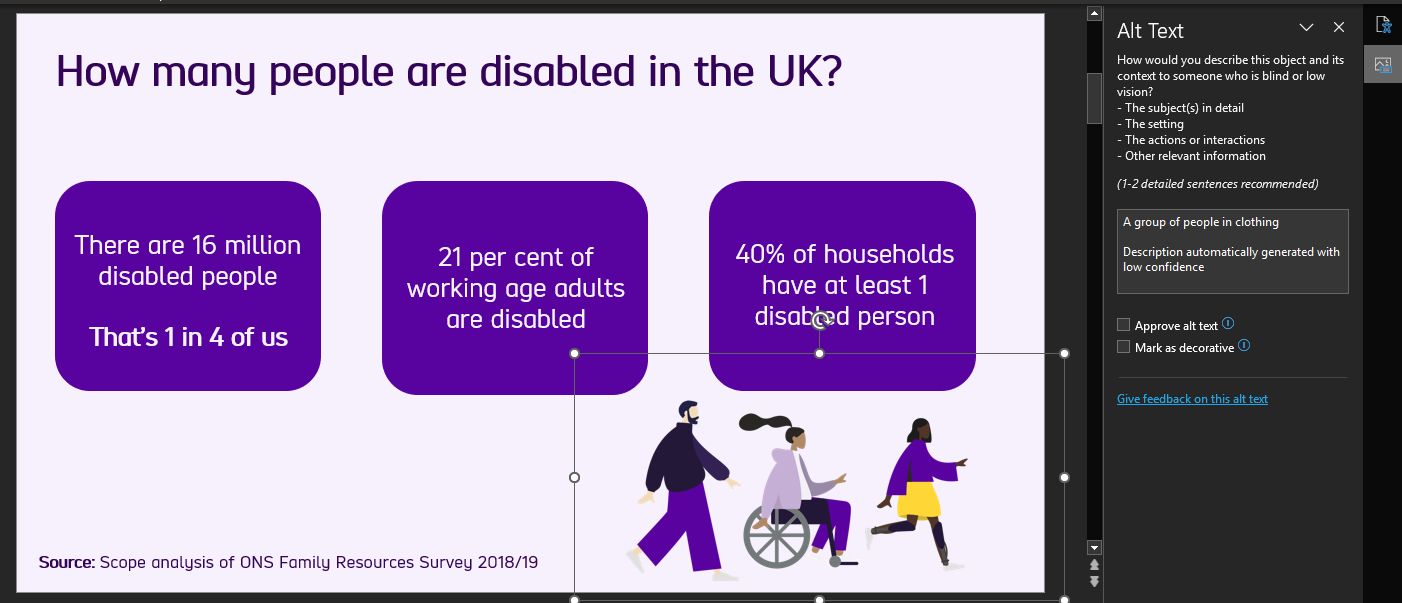
This is why adding your own written description is very important.
In general, it’s best to avoid text in images. But if you really need to, this text either needs to be written in the alt-text box or elsewhere within the slide.
How to add alternative text to a shape, picture or chart in PowerPoint (Microsoft Support)
Set tables up properly
Tables are often overlooked when it comes to accessibility. But it’s important to format tables so that assistive technology users can read them.
PowerPoint lets you identify a single row of column headers and a single column of row headers.

To identify table headers in PowerPoint:
- Click inside the table, and the table tools option should appear.
- If the top row of the table contains headers for each column, make sure the ‘header row’ box is ticked.
- If the first column contains headers for each row, then tick the ‘first column’ box.
PowerPoint also has various table themes and styles to help the table headers stand out. This is another way of ensuring that tables are formatted correctly. Some screen readers will not identify table headers in PowerPoint, but we still recommend taking these steps.
Making your headers stand out can help users with low vision to focus.
How to make your tables in PowerPoint more accessible (WebAIM)
Use accurate link text
Links are a good way of directing people to more resources. But URLs, or web addresses, alone are not particularly accessible.
You should always avoid copying and pasting a URL straight into your presentation.
This is because most URLs do not clearly indicate where the link leads to. Most URLs contain a combination of letters, numbers, ampersands, dashes and other characters. These are tedious when read out loud by a screen reader.
(Remember that blind users cannot visually skim through long links. They must listen to the whole text.)
This is why it’s important to edit your link text and make it descriptive.
Add closed captions to your videos
If your presentation contains any video or audio content, these must be accessible.
Adding closed captions to your video content makes it accessible to a larger audience. This includes people with hearing loss or a hearing impairment. Captions also help people with autism, ADHD and learning difficulties. They also make things easier for non-native English speakers.
You can create captions using a text-editor programme such as Windows Notepad. You can then add the file (which should have a .vtt filename extension) to your presentation. Microsoft Support has a step-by-step guide. It shows you how to create closed captions for a video in PowerPoint.
Note, if you’re including an audio file make sure you add a transcript. Read our guide to subtitles, captions and transcripts for accessibility.
Make captions available
When delivering presentations you should consider arranging live captioning. At the very least, let people know how they can access captions.
You can make captions available in different ways:
- Microsoft Teams lets individuals can turn on live captions for their screen. These are auto-generated. If someone asks for captions, you should use a captioning service.
- Zoom also offers live captions. But they do recommend you use a third party service to make sure they’re accurate
- Get a stenographer or live transcription service. You can embed these in Teams and Zoom. For in-person events, the service will provide a screen at the front to display the captions.
If you’re running an event, webinar or presentation, let people know they can ask for:
- live transcription or
- a British Sign Language (BSL) to English interpreter
Give written descriptions for videos
Taking time to write a video description makes your presentation content more accessible. It helps people with visual and hearing impairments understand the context of a video.
Written descriptions are especially important for videos without dialogue or are mostly visual.
Descriptions should be concise, detailed and informative.
Use the accessibility checker
PowerPoint has an accessibility checker that allows you to check for issues.
The accessibility checker is useful for picking up any issues you might have missed. The checker identifies errors and gives you tips on fixing any issues that arise.

Issues it can pick up include:
- missing alt-text
- unclear link text and
- duplicate slide titles
It also gives prompts like encouraging you to check the slide reading order.
The accessibility checker can be used on both Windows and Mac versions of PowerPoint.
For Windows: select file, info, and select the ‘check for issues’ button. Then choose ‘check accessibility’. The accessibility checker is now enabled.
For Mac: select the review tab, then check accessibility.
Offer a transcript and send out the slides
Write up a transcript of your speaker notes and let people know they can ask for them. Send the slides out to attendees beforehand.
Access to slides and speaker notes can help people with a range of impairments. It lets people read through the information to familiarise themselves with the content. It also means people to follow along on the device most accessible to them, such as their phone or tablet.
Make your presentation available in other formats
While PowerPoint is great for live presentations, it’s not the best format for sharing content afterwards. Files sizes can be large and often require the user to have Microsoft Office installed.
Before sharing your presentation, ask yourself, is this the best format for everyone?
Making your presentation available in other formats gives people choice. It means they can choose the format that works best for them. For example, a Word document or HTML web page.
(It’s still worth checking the accessibility of these documents as well, though.)
Making your presentation accessible is not just the right thing to do. It increases the number of people who can understand and enjoy your content.
More PowerPoint accessibility resources
PowerPoint accessibility (WebAIM)
Make your PowerPoint presentations accessible to disabled people (Microsoft)
Accessibility support for PowerPoint (Microsoft Office Support)
Best video conferencing apps and software for accessibility